
AI-generated
Homemade No-Churn Chocolate Ice Cream
Log in or create a free account to save recipes.
Source: https://recipheon.com/en/recipes/desserts/homemade-no-churn-chocolate-ice-cream
About this recipe
Homemade no-churn chocolate ice cream is creamy, has a deep cocoa flavor, and is easy to make with just a few ingredients. No eggs are needed: whipped cream is combined with sweetened condensed milk, cocoa, and melted chocolate. After several hours in the freezer, the ice cream stays pleasantly soft and does not need to be stirred as it freezes. Serve it in cones or dessert cups, or top it with extra chopped chocolate.
Ingredients
500 ml heavy cream (36% fat), well chilled
300 g sweetened condensed milk, at room temperature
40 g unsweetened cocoa powder
100 g dark chocolate, finely chopped
1 teaspoon vanilla extract
1 pinch of salt
Steps
Place the chopped dark chocolate in a heatproof bowl and heat it in the microwave in 20–30 second intervals, stirring after each interval, for about 1–2 minutes total. Stop when the chocolate is completely smooth; do not let it boil. Set aside for about 10 minutes, until lukewarm but still fluid.
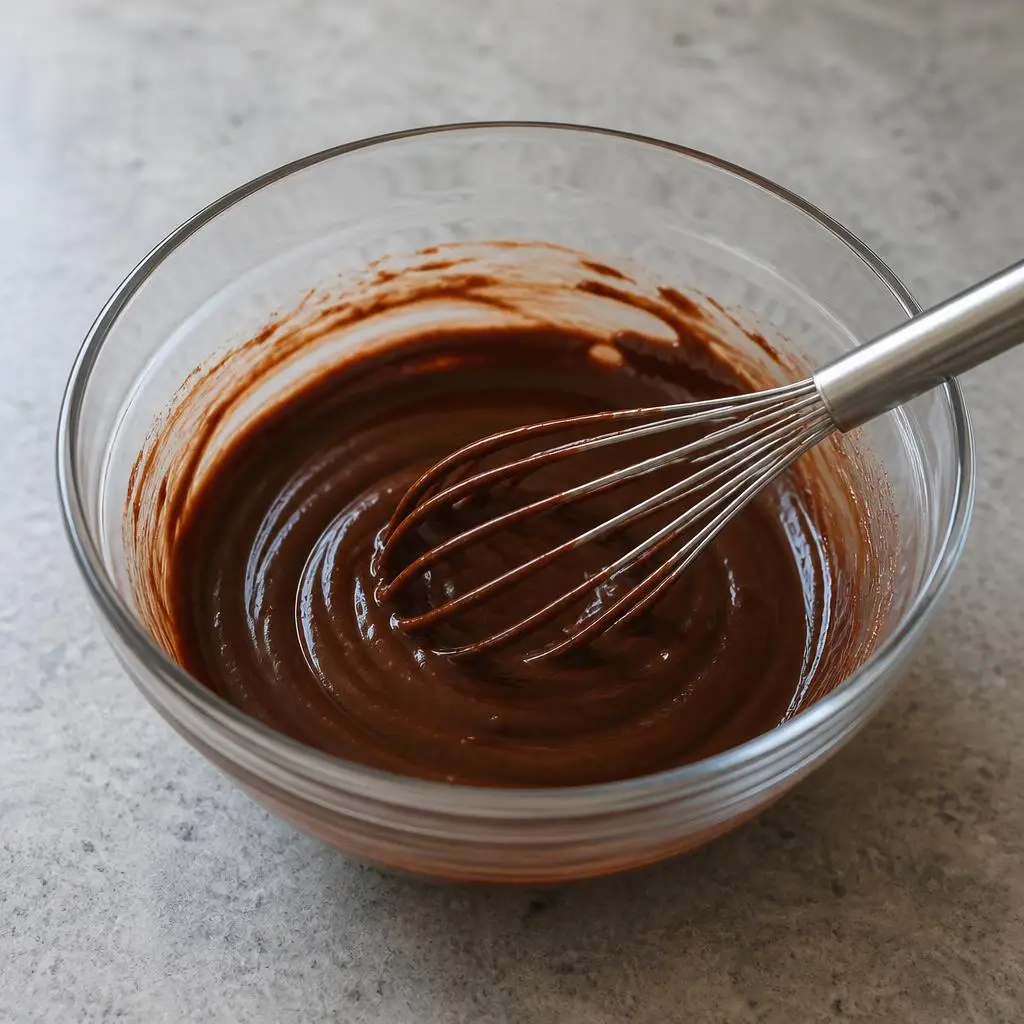
Mix the sweetened condensed milk with the cocoa, vanilla and salt. Gently warm this base in a warm water bath to about 35–40°C, stirring. Add the melted chocolate at a similar temperature and mix until completely smooth. Cool the entire smooth mixture to about 25–30°C before combining it with the whipped cream; do not let the chocolate harden into separate lumps.
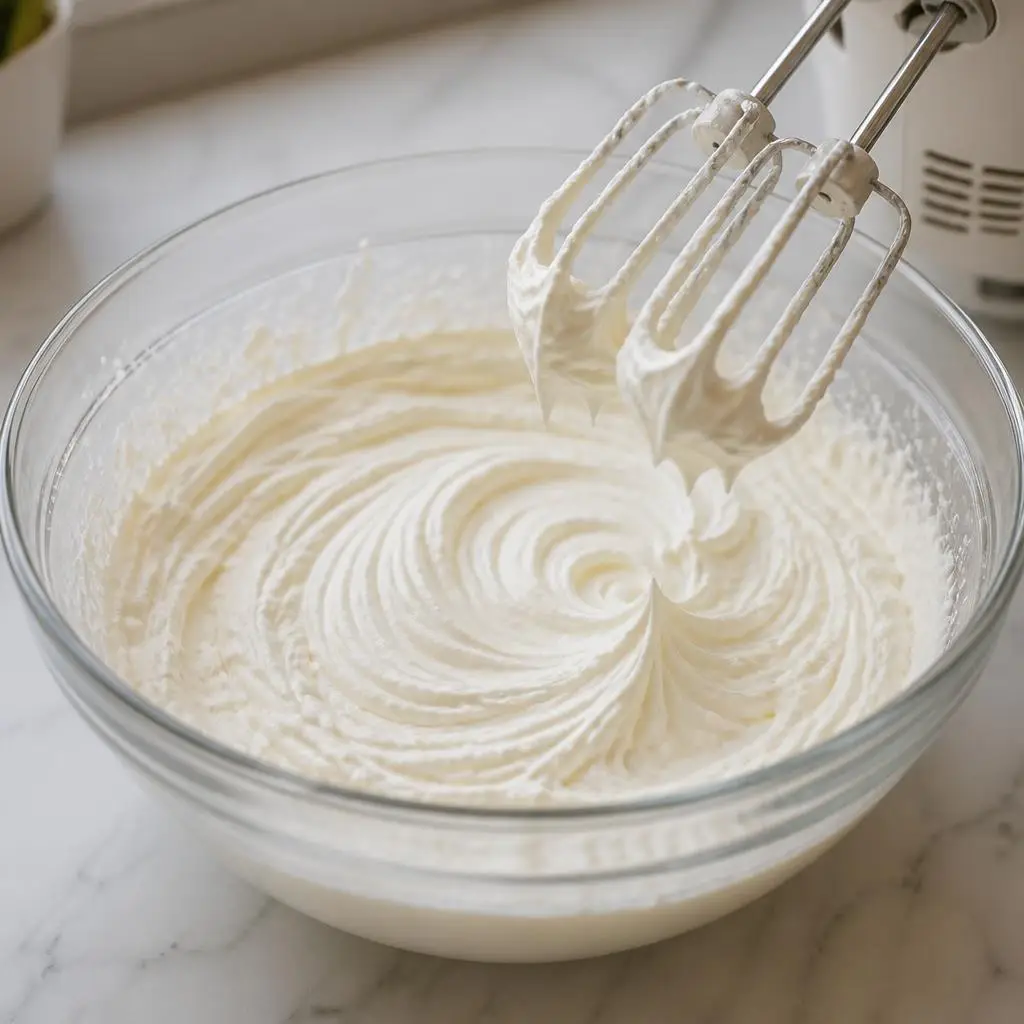
AI-generated In a separate cold bowl, whip the well-chilled heavy cream (36% fat) with an electric mixer on medium speed for about 3–4 minutes, until fluffy and the beaters leave clear, soft trails. Stop before the cream starts to separate.
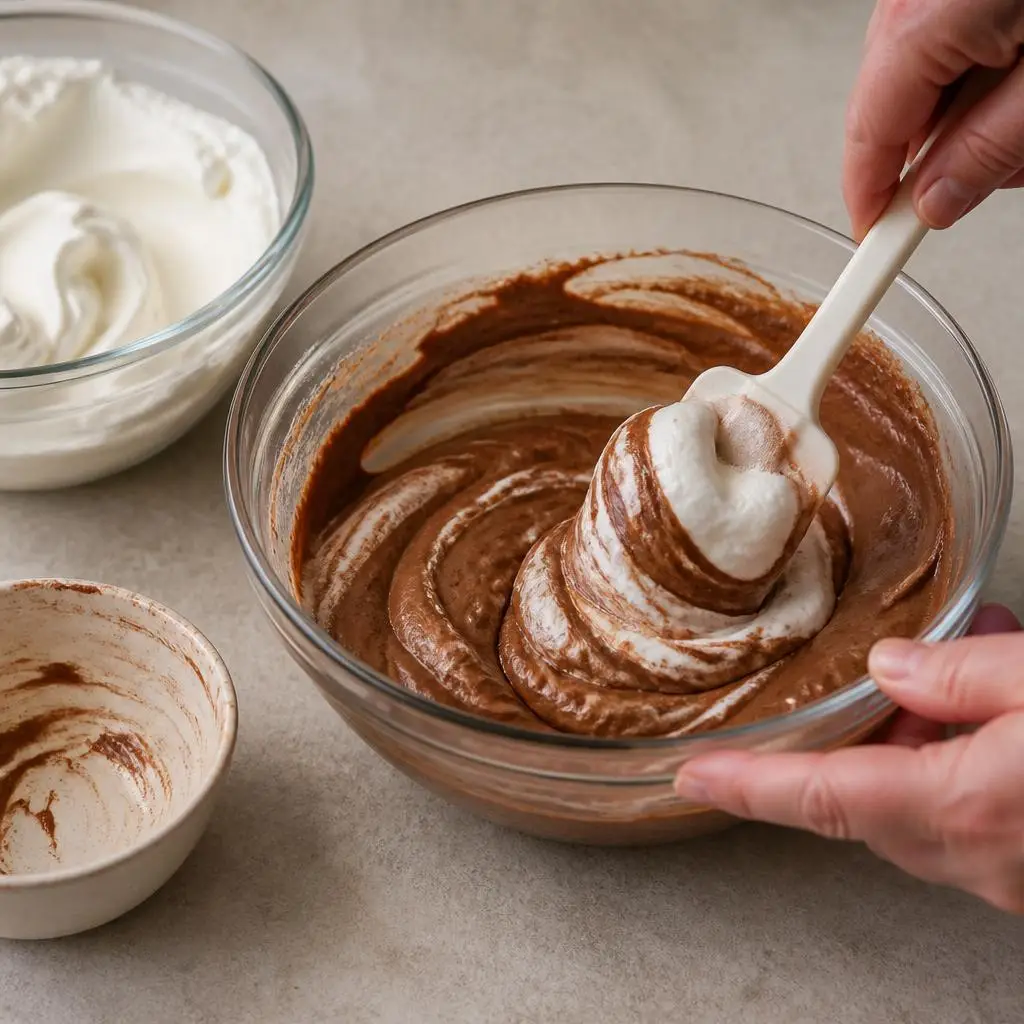
AI-generated Add one-third of the whipped cream to the chocolate mixture and gently stir to loosen it. Add the remaining cream in two additions, folding from the bottom upward with a spatula each time, until the mixture is uniform and airy.
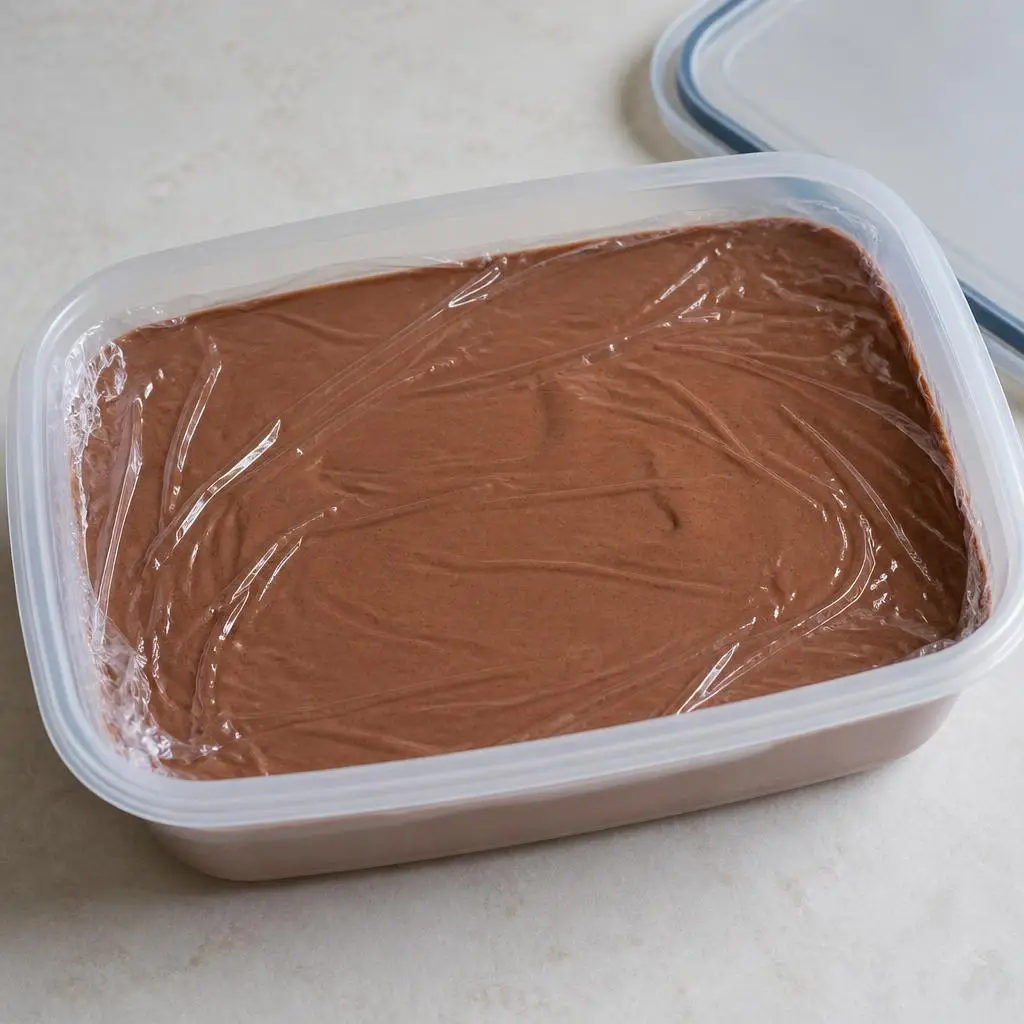
AI-generated Transfer the mixture to a shallow, airtight container with a capacity of at least 1.5 liters and smooth the surface. Cover with plastic wrap so that the wrap touches the ice cream, then seal the container to limit exposure to air.
AI-generated Place the container in a freezer set to about −18°C for at least 6 hours, preferably overnight. The ice cream is ready when the entire mixture is firm but can be scooped easily after a few minutes at room temperature.
Remove the ice cream from the freezer 5–10 minutes before serving so it softens slightly. Scoop with a clean spoon into dessert cups or cones, and store tightly sealed in the freezer for up to 2 weeks for the best flavor and texture.
Estimated nutrition

Rate this recipe
1 rating
Comments