
AI-generated
No-bake wafer cake with chocolate and hazelnut cream
Log in or create a free account to save recipes.
Source: https://recipheon.com/en/recipes/desserts/no-bake-wafer-cake-with-chocolate-and-hazelnut-cream
About this recipe
This wafer cake with hazelnuts and dark chocolate draws on the layered cakes known in Austria and Poland as pischinger or piszinger. The home version joins eight ready-made wafer sheets with seven thin layers of butter, chocolate and finely ground nuts. We do not use raw eggs or a ready-made sweet spread from a jar. The nuts are already roasted, unsalted and without a sugar glaze, so the dessert needs no oven. A cool spreadable filling is essential: heat would melt the butter, while a mixture that is too cold is hard to spread and may break the wafers. Spread right to the edges and leave the last sheet without glaze. Brief light pressure levels the layers, then further chilling lets the filling set. Cut the whole rectangle, including its edges, into sixteen small servings. The top stays plain, with the wafer grid visible and without extra decorations.
Ingredients
The whole cake for sixteen servings
200 g dry pale cake wafers without filling: 8 whole rectangular sheets about 28 × 23.5 cm
180 g ready-roasted hazelnuts without hard shells, unsalted and without a sugar glaze, with their thin brown skins
180 g plain dark chocolate, 70% cocoa, without filling or add-ins
160 g butter, 82% fat, soft but not melted
50 g powdered sugar made only from ground sugar, without starch
Steps
Take the butter from the refrigerator about 45–60 minutes beforehand so it yields easily to pressure without releasing liquid fat. Check eight similarly sized wafer sheets, 200 g in total, and keep them dry. Prepare a large flat board or tray, parchment and a second light board for pressing. Do not trim the wafers and do not dampen them; all edges will be served.
Put all 180 g ready-roasted hazelnuts into a food processor and pulse into fine crumbs. Scrape down regularly so no large pieces remain to hinder spreading. Stop before a runny paste forms. Do not remove the thin brown skins and do not reserve nuts for garnish. They are already roasted; do not heat them again in this recipe.
Chop all 180 g chocolate and place in a dry heatproof bowl over gently steaming water. The bowl's base should not touch the water. Stir and melt about 4–5 minutes, then lift off and dry the underside. Leave about 10–15 minutes: the chocolate should be fluid but no longer hot, so it does not melt the soft butter. Do not add water or milk.
Beat all 160 g soft butter with the sifted 50 g powdered sugar about 3–4 minutes until paler and fluffy. Stop the mixer several times to scrape butter from beaters and bowl sides. Do not add more sugar, cream or stabilizer. The butter should keep a creamy texture; if liquid, do not start beating with it.
Add the cooled but fluid chocolate to the beaten butter in three portions, mixing on low speed. Add all ground nuts and combine with a spatula. The cream should be even and soft with fine nut particles, easy to spread. If too loose, refrigerate 5–10 minutes and stir again; do not chill into a hard block and do not thin with liquid.
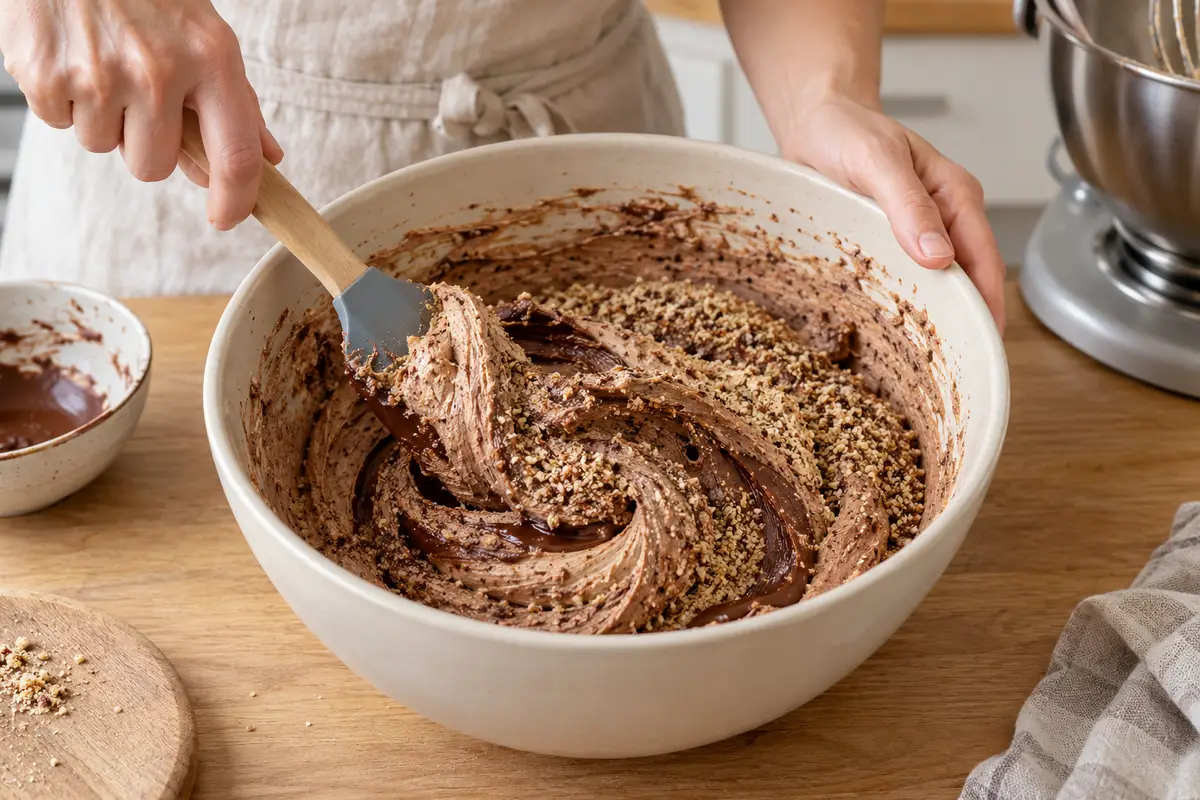
AI-generated Roughly divide all cream into seven equal portions of about 80 g. Lay the first wafer on parchment on a flat board. Spread one portion thinly and evenly from center to edges, filling the grid's hollows too. Hold the sheet with a flat palm without bending it. Do not reserve a separate portion for the top, sides or glaze.
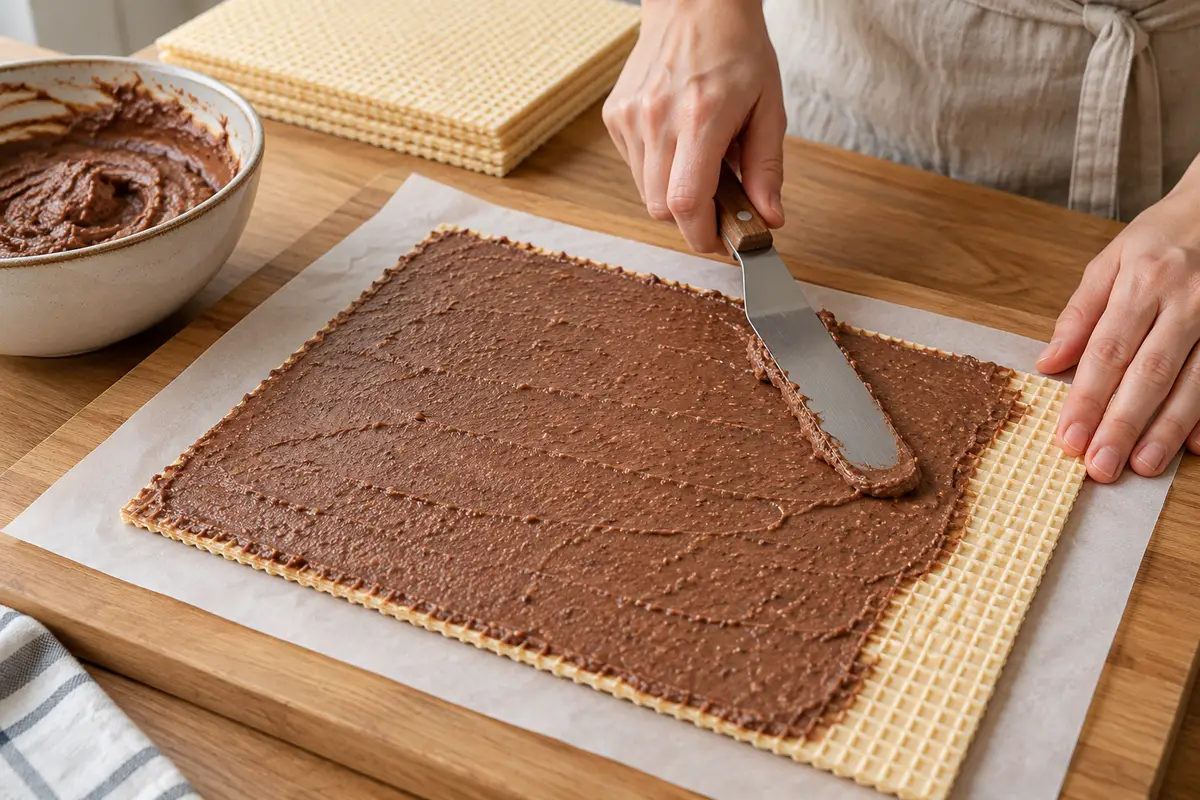
AI-generated Cover with the next wafer and press the whole surface lightly. Repeat until all eight sheets and seven cream portions are used. Leave the final wafer dry on top. Scrape any filling squeezed out at the edges with a spatula and use in the next layer, without discarding. Scrape the bowl thoroughly too. Align all sheets in the same direction into an even rectangle.
Cover with parchment, place a flat light board weighing about 500 g on top without extra heavy objects, and refrigerate. After an hour, remove the board, cover the cake and chill another 3–5 hours, 4–6 hours in total. Do not apply pressure at individual points, so the wafers do not break and the filling is not squeezed out. The cream should set and the layers adhere well.
Take the cake from the refrigerator about 10 minutes before cutting so the cream is not very hard. With a sharp finely serrated knife and no heavy pressure, cut the whole rectangle into four strips in one direction and four in the other. This gives sixteen servings, including the edges. Do not trim the sides to neaten and do not add decorations; show eight wafers and seven cream layers in the cut surfaces.
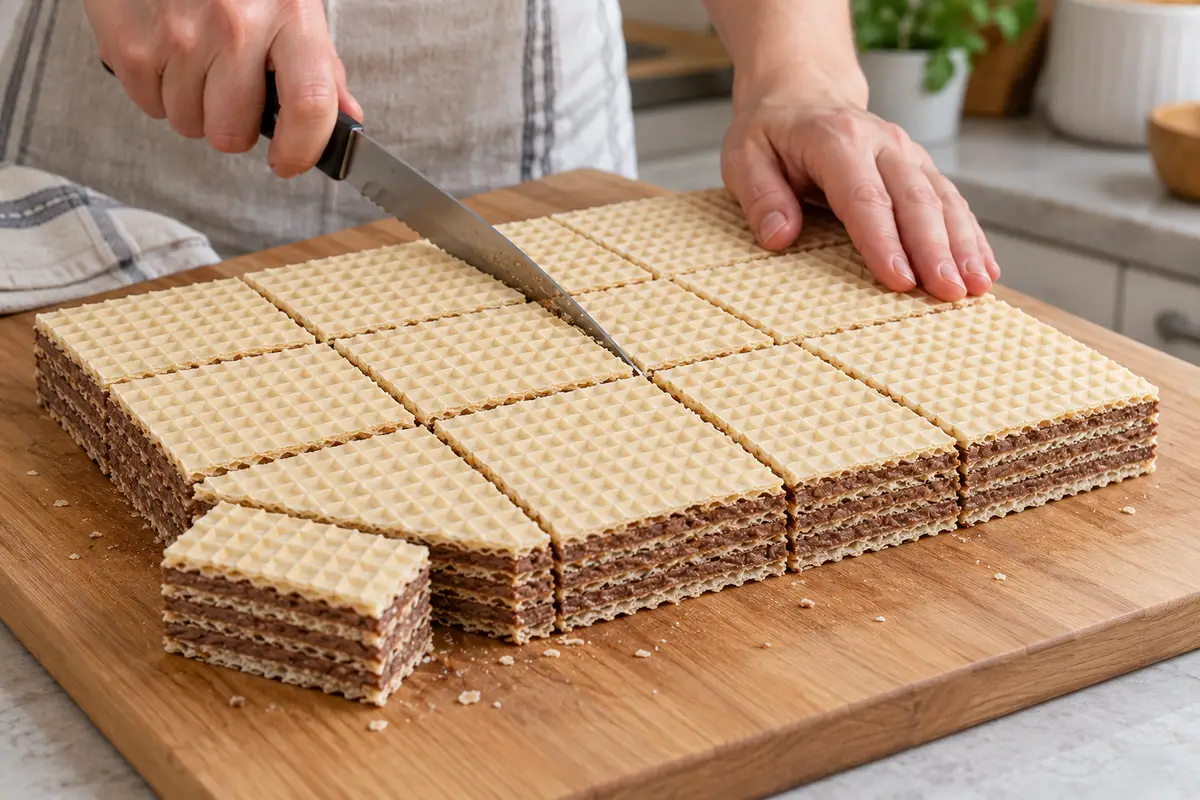
AI-generated Serve small pieces without extra sauce or whipped cream. Share any edible crumbs from the board among servings. Seal the remaining cake in an airtight container and refrigerate for up to 4 days from preparation. The wafers soften somewhat over time, so we do not promise unchanged crispness. Take out only the servings needed and let them soften briefly out of the refrigerator.
Estimated nutrition

Rate this recipe
0 ratings
Comments